
Click play to listen to the intro.
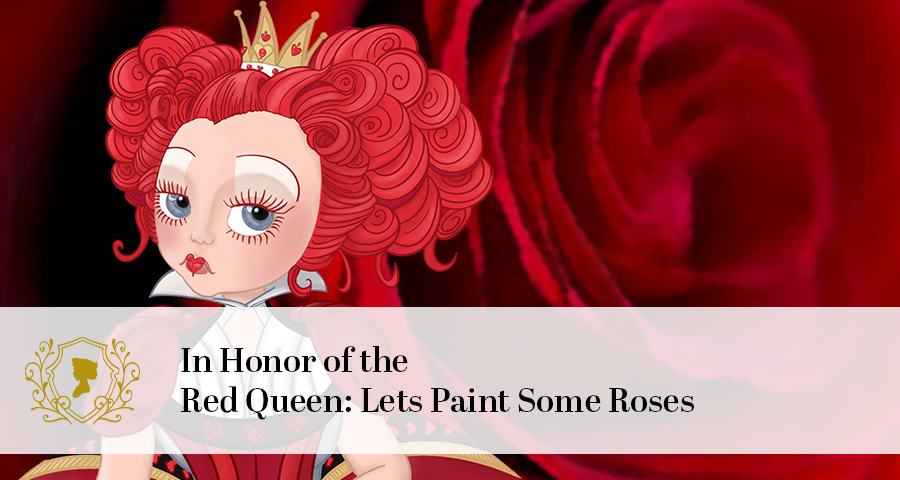
In this tutorial, we pay homage to the Red Queen, the intimidating yet fascinating character from Lewis Carroll’s Alice’s Adventures in Wonderland. Like the Red Queen herself, our task is to create extraordinary and captivating works of art that celebrate her love for roses. As we delve into the intricate techniques of rose brush strokes and painting them with finesse, we honor the unparalleled allure of these enchanting flowers. So join us as we embark on a creative adventure filled with passion and artistry, inspired by the exquisite elegance of the Queen of Hearts.
In this celebration of all things rosy and regal, we invite you to unlock your inner artist and immerse yourself in an exploration of creativity. Through mastering the gentle curves and vibrant hues that bring a rose to life on canvas or paper, you can capture not only its physical form but also its emotive essence. The act of painting roses offers a profound opportunity to express emotions such as love, admiration, or even defiance – much like how the Red Queen’s character embodies strength within vulnerability. Together, let’s elevate our understanding of this timeless subject matter and embrace it as a symbol for both artistic expression and personal empowerment. This tutorial promises not just technical lessons but also an invitation to connect deeply with your own creativity while paying tribute to one of literature’s most compelling characters – so grab your brushes and welcome aboard!
Gather the tools you will need
As you get ready to honor Red Queen with a beautiful rose painting, it’s essential to gather the right tools. Whether it’s paper, canvas or an old flower pot as your medium of choice, be sure to select a surface that can handle acrylic paints without warping or bleeding. When it comes to paints, opt for high-quality acrylics in rich and vibrant colors for your rose masterpiece. And don’t forget your brushes – flat brushes are ideal for creating bold strokes, but angle brushes offer a versatile alternative with their precise angled cut.
With the right tools at your disposal, you’re ready to bring the beauty and intensity of roses to life on your canvas. As we pay homage to the Red Queen with our painted roses, let each brushstroke reflect her power and allure. The choice of surface to paint on, the selection of vivid acrylic colors, and the precision of our angle brushes all play a part in capturing the essence of this iconic queen through artistry. So gather your tools with intention and let them guide you as you embark on this creative endeavor inspired by one of literature’s most compelling characters.
First paint a circle for the base
The first step in painting a vibrant rose is to begin with your primary color of choice, such as a bold for the Queen of Hearts’ favorite flowers. Start by drawing a circle as the base of your rose, ensuring that it’s proportionate and symmetrical. This circle will serve as the foundation for the intricate layers and details that will make your rose come alive on the canvas.
As you develop your technique further, consider the power of choosing a strategic base to enhance the drama of shadows and lighting in your artwork. The choice of base color can greatly impact the overall mood and depth of your painting, setting the stage for a mesmerizing visual experience. While this decision may seem daunting at first, embracing experimentation with different bases will ultimately enhance your understanding of how color interacts with light and shadow.
For now we will be using your primary color to create this base. As you delicately shape this initial circle, envision how it will eventually transform into a stunning rose bloom fit for royalty. Remember that every brushstroke counts, and let each movement be guided by your reverence for this iconic symbol of love and passion.
How to Load the paint on your brush
Loading the paint on your brush is a crucial step in creating beautiful and vibrant brush strokes. When using a short angled brush, try loading two contrasting colors on opposite sides of the brush to create an interesting color blend. This technique not only adds depth and dimension to your strokes but also brings out the richness of the colors as they merge seamlessly on the canvas.
The key to mastering this method is finding a balance between the two colors, ensuring that neither overpowers the other. Experiment with different pressure and angles to determine how the colors flow onto the canvas, allowing you to create unique and captivating effects. By embracing this approach, you can elevate your rose painting skills and unlock endless possibilities for showcasing depth and texture in your floral compositions.

Understanding Rose Brush Strokes
As we delve into the art of painting roses, it’s essential to understand the intricate dance of brush strokes that bring these enchanting flowers to life on canvas. The stroke of a brush can convey delicate petals, soft folds, and vibrant colors, capturing the essence of a rose in all its beauty. Each brush stroke is like a masterful composer conducting an orchestra, blending hues and shapes to create a symphony of floral elegance.
To truly capture the essence of a rose in all its splendor, one must embrace the diverse array of brush strokes at their disposal. From broad, sweeping strokes that define the overall shape of the flower to more precise detailing with fine-tipped brushes for delicate petals and leaves – every stroke contributes to the harmonious portrayal of nature’s masterpiece. Understanding how different strokes interact and blend together is fundamental in creating lifelike roses that evoke emotion and admiration from those who behold them.
The artistry lies not only in understanding these individual brush strokes but also in interpreting their collective effect on creating a mesmerizing portrayal of roses. By harnessing this understanding, aspiring artists can elevate their work to new heights while honoring these iconic symbols of love and beauty through their painted renditions.
Attached is an image we found that demonstrates these brush strokes
Step-by-Step Tutorial on Painting Roses

Step 1
Begin by blending your lighter color with the darker shades to form the back petal(s). Start by painting one or more back petals with a slight arch.

Step 2
Then, add a petal in front of the back petals halfway between the top and bottom of the back petal.

Step 3
Use the chisel of the brush to outline the edge lines for the throat as shown in the image.

Step 3
Connect these throat lines by adding a front curving petal underneath.

Step 4
Next, add two side petals on the throat, overlapping the back petals, followed by two more petals on each side overlapping the side petals.

Step 5
Finally, include one strong forward-facing petal at the bottom front and layer a few inner petals over it as depicted in the image.

Additional notes
Feel free to add extra petals or create more intricate folds in the petals as necessary. The provided example is simply for demonstration purposes. By incorporating additional layers and depth, your rose will take on a more lifelike appearance.
Video Example of this Technique
This video by @ReenasCreativeArtwork we found on YouTube is a perfect visual aid for any one wanting to understand the intricate process of painting roses. The artist takes us through each brush stroke, clearly demonstrating the process we explained above in each stroke. We found no other video more fitting to this process.
Watching this video will surely simplify the explanation for you. Check out her youtube @ReenasCreativeArtwork for more from her.
Share your Paintings with Us
As we dive into the delightful world of painting roses in honor of the Red Queen, we invite you to share your own artistic renditions with us on our Facebook page. Whether you’re a seasoned painter or just starting out, your perspective and vision are valuable additions to our community.
By sharing your paintings on our Facebook page, you inspire others to explore their creative talents. Your artwork could spark conversations, offer encouragement, and foster a thriving community of art lovers.
Conclusion
Mastering the art of painting roses requires patience, practice, and a keen eye for detail. As we wrap up this tutorial on rose brush strokes and how to paint roses in honor of the Red Queen, let’s remember that every stroke holds the potential to bring beauty to life on canvas. Just as the Queen of Hearts sought perfection in her garden of roses, we too can strive for excellence in our artistic endeavors.
May this tutorial serve as a reminder that imperfections are an integral part of artistry and should be embraced rather than feared. Every stroke or petal may not turn out as expected, but it is through these moments that our creativity flourishes. So let’s continue to approach our art with courage and determination, knowing that each attempt brings us closer to capturing the essence of a rose with our brushes.